Getting Started with MASPIK: Step-by-Step Guide
Welcome to MASPIK, the ultimate anti-spam plugin for WordPress! This guide will help you set up and configure the plugin effortlessly, ensuring your website stays spam-free. Follow the steps below to get started.
Step 1: Installing and Activating MASPIK
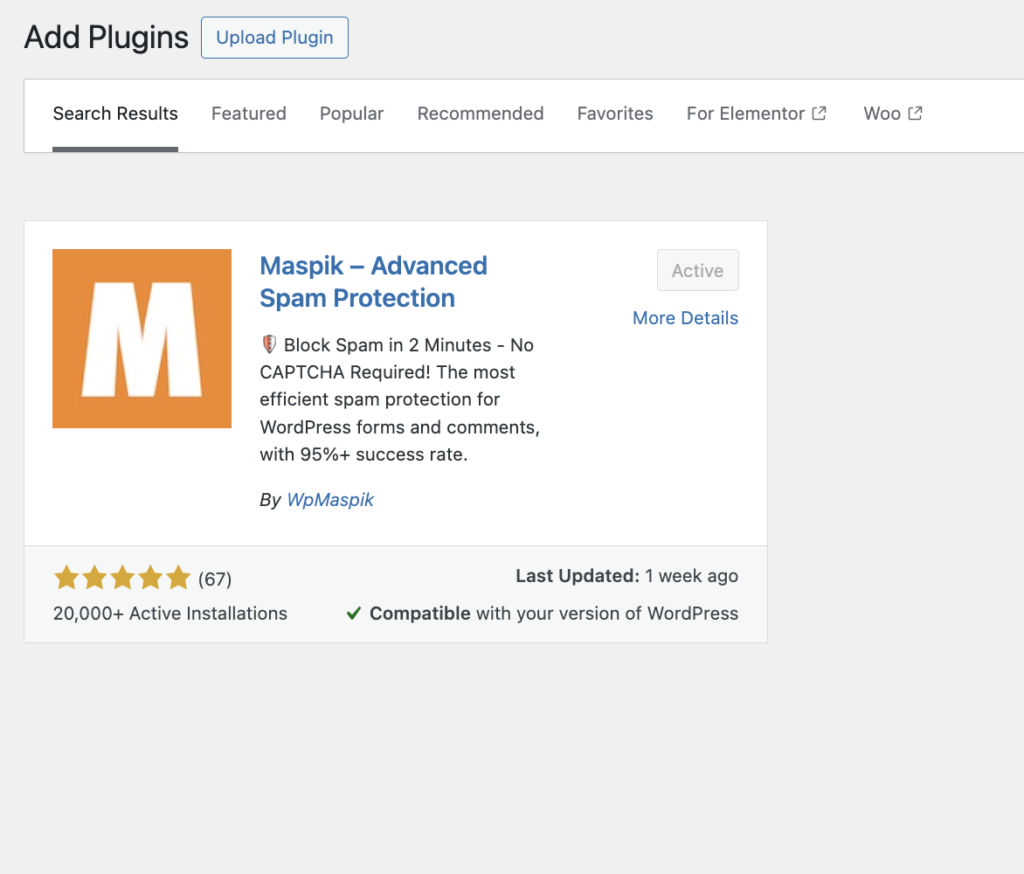
Installing MASPIK is simple and works just like installing any other WordPress plugin:
1. Go to your WordPress admin dashboard.
2. Navigate to Plugins > Add New.
3. In the search bar, type MASPIK.
4. Once the MASPIK plugin appears, click Install Now and then Activate.
After activation, you will see a new MASPIK menu item in the black admin menu on the left side of your WordPress dashboard.

Step 2: Navigating to the MASPIK Settings Page
To start configuring the plugin:
1. Click on MASPIK in the WordPress admin menu.
2. You will be directed to the main settings page of MASPIK.
This page contains all the essential options for configuring MASPIK. It’s the central hub where you can customize and optimize how the plugin blocks spam on your site.
Step 3: Overview of the Main Settings Page
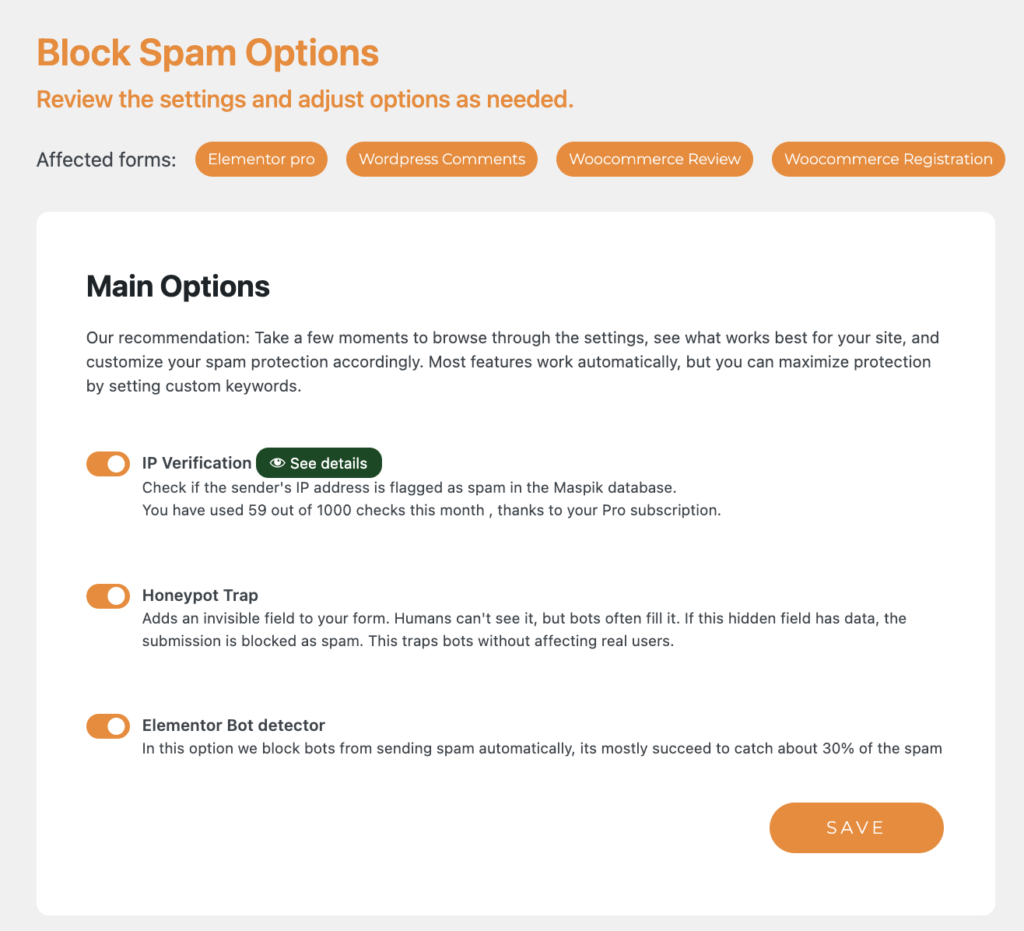
The main settings page gives you access to powerful anti-spam tools. By default, MASPIK enables three essential features to protect your site:
1. IP Verification
This feature ensures that every submission—whether from a form, comment, or registration—does not come from an IP address blocked by MASPIK’s server.
• Status: Enabled by default.
• Recommendation: Highly recommended for blocking known spam sources.
2. Honeypot Trap
The Honeypot Trap adds a hidden field to all your forms. Spam bots usually fill out this hidden field, which alerts MASPIK to block the submission.
• Status: Enabled by default.
• Recommendation: A highly effective method to block automated spam.
3. Elementor Bot Detector
This feature specifically targets Elementor forms, using a proprietary method to detect and block bot submissions.
• Status: Enabled by default.
• Recommendation: It is essential for users relying on Elementor forms, as it blocks a significant percentage of spam.

Next Steps
These are the core features MASPIK enables right out of the box to protect your website. In the next section, we’ll dive into customizing the settings to tailor the plugin to your specific needs and how to add blacklist words or additional spam detection rules.
Adding Custom Blacklisted Words Per Field
MASPIK offers an advanced feature that allows you to block submissions based on specific “blacklisted words” for each form field. This is an excellent way to fine-tune your spam prevention strategy and tackle common spam patterns you encounter.
How It Works
Imagine you frequently receive spam submissions containing the name “Eric Jones” in your text fields. With MASPIK, you can block any submission containing this name by adding it to the blacklist for the specific field type. Here’s how the process works:
1. Go to the MASPIK settings page.
2. Locate the section for By Field Options.
3. Select the field type (e.g., Text Field, Email Field, etc.).
4. Add words or phrases you want to block, separated by commas (e.g., Eric Jones, Cheap Offers, Free Money).
5. Save your changes.
When a submission includes any of these blacklisted words in the specified field type:
• Validation Failure: The form will return an error, blocking the submission.
• Spam Log Entry: The blocked submission will be automatically logged in the Spam Log for your review.
Why Use This Feature?
This functionality allows you to:
• Tailor spam prevention to your specific needs.
• Quickly block frequent spam patterns unique to your site.
• Review spam activity and refine your blacklist over time using the Spam Log.
By leveraging the Blacklisted Words by Field feature, you can drastically reduce spam submissions while maintaining complete control over the criteria used to block unwanted content.
Learn More About Each Blocking Option
MASPIK provides a wide range of blocking features to help you combat spam effectively. For an in-depth explanation of each option and how to configure them, check out the detailed documentation for each feature below:
- IP Verification – Learn how to block spam based on IP addresses.
- Blacklisted Words by Field – Explore how to tailor your spam prevention with custom keywords.
- Country & Language Blocking – Block submissions based on country or language. (Available in PRO)
- Character Limits – Set minimum and maximum character limits for specific fields.
- Advanced API Integrations – Use external APIs for spam validation. (Available in PRO)
- Whitelist Phone Fields formats – Allows you to set allowed phone number formats.